Affiliate Disclosure: This post contains affiliate links. If you purchase through my links, I may earn a small commission at no extra cost to you. I only recommend products I’ve personally researched and trust for my own family.
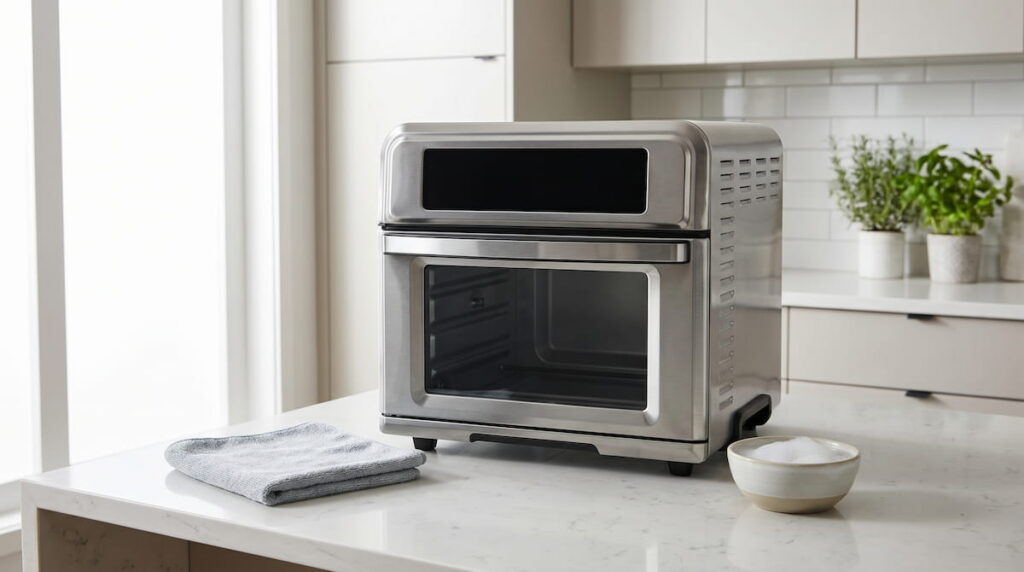
Learning how to clean Instant Pot Omni Plus correctly matters more than most owners realize — because the stainless steel interior and removable accessories each need different cleaning approaches, and the mistakes that damage the unit are easy to make without knowing what to avoid.
I’ve been running the Omni Plus through daily family cooking for months, and the cleaning routine took some trial and error to get right. Here’s the full method — what to clean, how to clean it, and what to avoid to keep the interior and accessories in good condition over years of daily use.
What You’re Actually Cleaning on the Instant Pot Omni Plus
The Omni Plus has several distinct components that require different cleaning approaches. Understanding what each part is made of determines how you clean it without causing damage.
The interior cavity walls are stainless steel. Stainless steel is durable and handles most cleaning methods well, but it can scratch under abrasive cleaning and can develop water spots or grease buildup that requires specific treatment to remove cleanly.
The crumb tray at the bottom catches drips, grease, and food debris during cooking. It’s the component that needs cleaning most frequently — ideally after every cook or every other cook for high-fat proteins.
The cooking accessories — air fry basket, baking pan, and cooking rack — are stainless steel or chrome-plated steel. These are the components that contact food directly and require thorough cleaning after each use.
The heating element at the top of the interior cavity requires occasional attention but should never be submerged or wiped with a wet cloth while the unit is plugged in.
The exterior housing is a painted or coated metal surface that requires gentle cleaning to avoid damaging the finish.
How to Clean Instant Pot Omni Plus: Step-by-Step
Step 1 — Unplug and let cool completely
Never clean the Omni Plus while it’s plugged in or while any component is still warm. The stainless steel interior retains heat longer than it appears to from the outside. Wait at least 30 minutes after the last cook cycle before beginning any cleaning.
Step 2 — Remove and clean the crumb tray first
Slide out the crumb tray from the bottom of the unit. Empty any accumulated debris, then wash with warm soapy water and a soft cloth or sponge. The crumb tray is dishwasher safe, but hand washing keeps it in better condition over time. Dry completely before reinserting.
Step 3 — Remove and clean the cooking accessories
The air fry basket, baking pan, and cooking rack are all removable and washable. Wash with warm soapy water and a non-abrasive sponge. For stuck-on food residue, soak in warm soapy water for 10–15 minutes before cleaning — this loosens residue without the scrubbing that scratches stainless steel surfaces.
All accessories are listed as dishwasher safe by Instant Pot, but hand washing extends their finish life, particularly for the chrome-plated rack which can show wear from repeated dishwasher cycles over time.
The Omni Plus interior tray wipes clean with a soft damp cloth — no abrasive scrubbing needed for the stainless steel surface with regular cleaning.
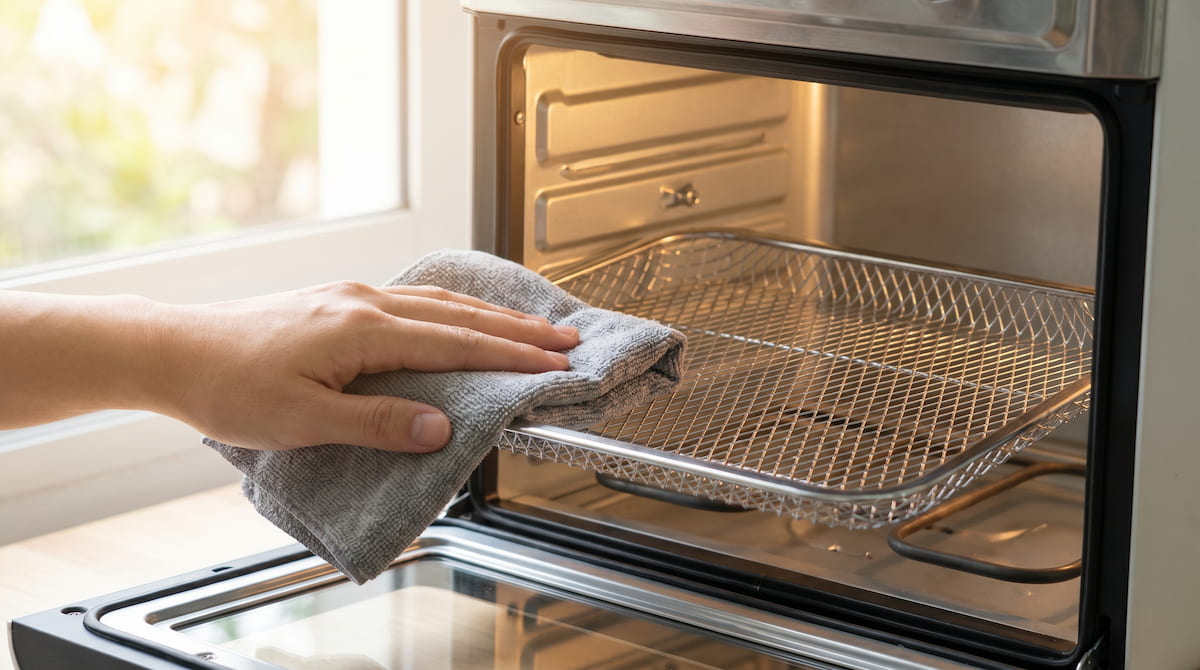
Step 4 — Wipe the interior cavity walls
With the accessories removed, wipe the stainless steel interior walls with a soft damp cloth and a small amount of mild dish soap. Work from top to bottom so any loosened debris falls toward the open bottom rather than onto already-cleaned surfaces.
For grease splatter that has baked onto the interior walls — common after rotisserie chicken or high-fat protein cooks — dampen a cloth with a 50/50 mixture of white vinegar and water. Apply to the grease, let sit for 3–5 minutes, then wipe clean. This cuts through baked-on grease without abrasive scrubbing that would scratch the stainless surface.
Step 5 — Clean the heating element carefully
The heating element at the top of the interior should be wiped with a barely damp cloth only — not wet, never submerged. Food splatter on the heating element can cause smoke during subsequent cooks. A soft dry brush or barely damp cloth removes most debris safely. Do this with the unit unplugged and completely cool.
Step 6 — Wipe the exterior
The exterior housing wipes clean with a soft damp cloth and mild soap. Avoid abrasive cleaners or scouring pads on the exterior finish — they remove the surface coating over time. Dry with a soft cloth after wiping to prevent water spots on the stainless steel exterior panels.
Step 7 — Dry all components completely before reassembly
All components — crumb tray, accessories, interior walls — should be completely dry before reassembling and using the unit again. Moisture trapped inside the cavity can cause steam and spotting during the next preheat cycle.
Cleaning Frequency Guide
| Component | Clean After Every Cook | Clean Weekly | Clean Monthly |
|---|---|---|---|
| Crumb tray | ✅ Yes | — | — |
| Cooking accessories | ✅ Yes | — | — |
| Interior cavity walls | Quick wipe after greasy cooks | ✅ Full wipe-down | — |
| Heating element | — | Check for splatter | ✅ Careful wipe |
| Exterior housing | — | ✅ Wipe-down | — |
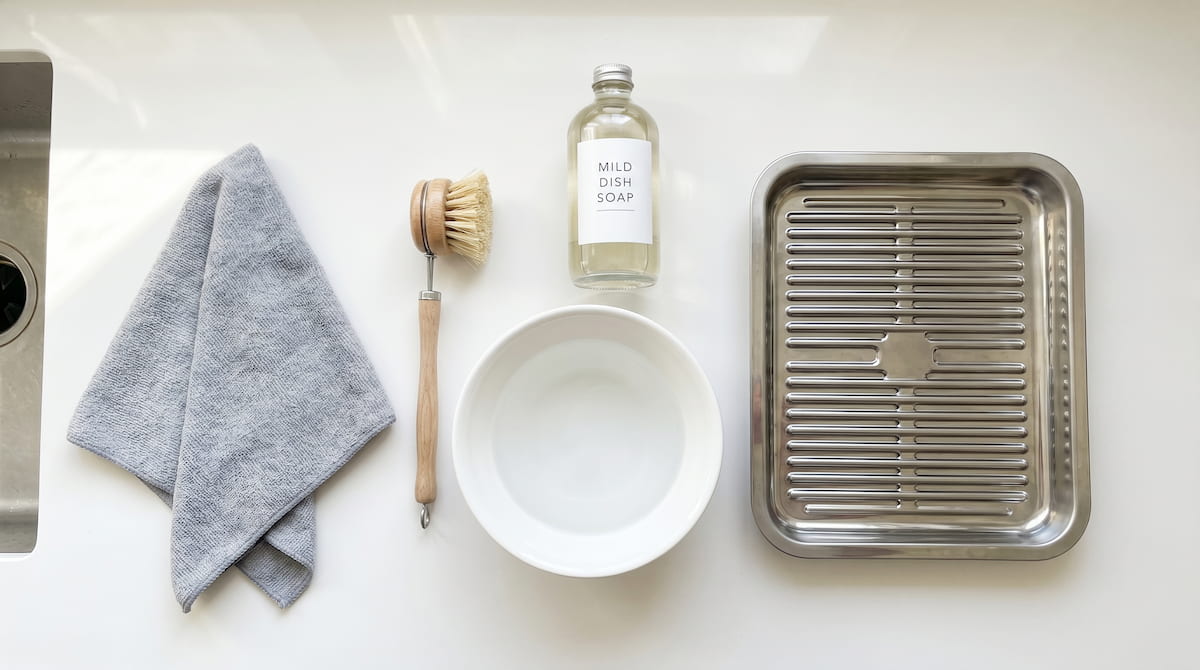
The right cleaning supplies for the Omni Plus — soft cloth, mild dish soap, white vinegar for grease, warm water. No abrasives needed.
Cleaning Mistakes That Damage the Omni Plus
Using abrasive scouring pads on the interior. Steel wool, abrasive sponges, and scouring pads scratch stainless steel surfaces permanently. The scratches trap grease and food debris in subsequent cooks and make the interior progressively harder to clean. Use only soft cloths or non-abrasive sponges on all interior surfaces.
Submerging the unit or spraying water directly into the interior. The Omni Plus is not waterproof. Water that reaches the heating element, fan motor, or electrical components can cause damage or create a safety hazard. All cleaning of the interior is done with a damp cloth — not running water, not spraying.
Cleaning while warm or plugged in. Cleaning a warm stainless steel interior with a cold wet cloth can cause thermal stress marks on the surface. More importantly, cleaning while plugged in creates an electrical safety risk. Always unplug and wait for complete cooling first.
Using harsh chemical cleaners. Oven cleaners, bleach-based products, and harsh degreasers can damage the stainless steel finish and leave chemical residue that produces fumes during the next cook cycle. Mild dish soap and white vinegar handle all routine cleaning needs without chemical risk.
Skipping the crumb tray. Accumulated grease and food debris in the crumb tray becomes a smoke source during high-temperature cooks. If your Omni Plus is producing smoke during cooking, a full crumb tray is the most common cause. Cleaning it after every cook with high-fat proteins prevents this entirely.
Dealing with Stubborn Grease Buildup
After rotisserie chicken, fatty pork cuts, or other high-fat cooks, grease can bake onto the interior walls in a way that a standard wipe-down doesn’t fully remove. The most effective approach without abrasives:
Mix equal parts white vinegar and warm water. Apply to the affected area with a soft cloth and let it sit for 5 minutes. The acidity in the vinegar breaks down baked-on grease without mechanical scrubbing. Wipe clean with a fresh damp cloth, then dry thoroughly.
For the most stubborn buildup — grease that has gone through multiple cook cycles without cleaning — a paste of baking soda and water applied to the area and left for 10 minutes before wiping provides additional cleaning action without scratching the stainless surface.
According to FDA food safety guidelines, regular cleaning of cooking appliances is essential to prevent cross-contamination and the buildup of residues that can affect food safety. For an appliance used for daily family cooking, maintaining a consistent cleaning routine is the simplest way to keep that standard.
Keeping the Instant Pot Omni Plus in Good Condition Long-Term
The Omni Plus stainless steel interior and accessories are built to last through years of daily family cooking — but that longevity depends on consistent cleaning habits more than anything else. Grease buildup that gets baked on over repeated cook cycles becomes progressively harder to remove and eventually affects cooking performance and produces smoke.
The routine that works for our family: crumb tray and accessories cleaned after every cook, interior walls wiped after any cook that produces significant grease splatter, full interior wipe-down once a week. That frequency keeps the unit clean without requiring deep cleaning sessions that take significant time.
For a full breakdown of the Omni Plus cooking surfaces and PFAS-free verification, see the guide on whether the Instant Pot Omni Plus is PFAS free. For the full review covering daily use performance, see the Instant Pot Omni Plus review. And if you’re also maintaining a ceramic basket air fryer alongside the Omni Plus, the guide on how to clean an air fryer basket covers the ceramic-specific cleaning approach in detail.