Disclosure: This post contains affiliate links. If you purchase through them, I earn a small commission at no extra cost to you. I only recommend products I personally trust for my family.
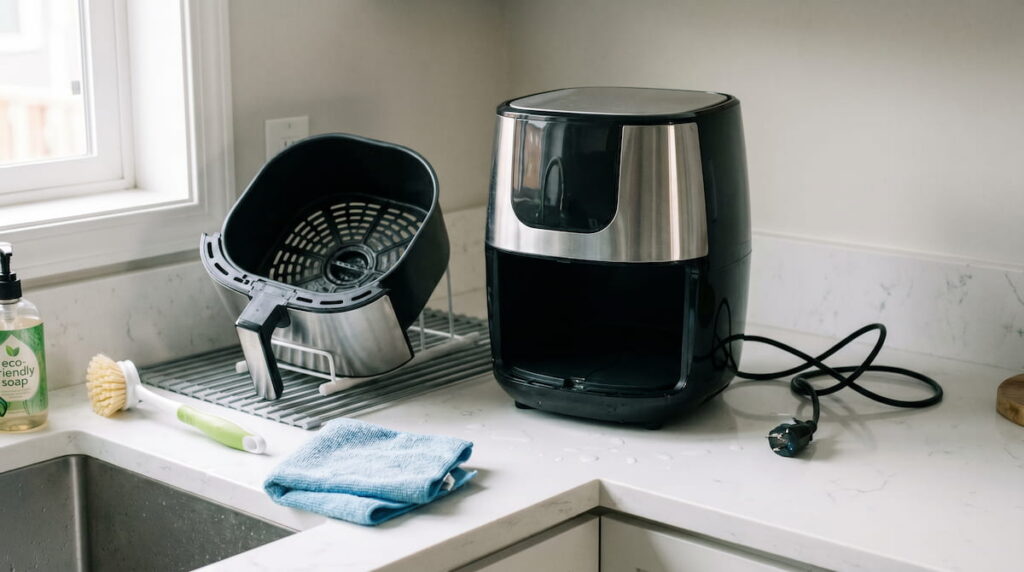
Why does my air fryer smell after cleaning is one of the most frustrating kitchen problems — you’ve washed everything, dried it thoroughly, and the smell is still there with the next cook. I’m Wook, a bus driver and dad who cooks for my family almost every night. I went through months of this before figuring out that standard cleaning was missing several key areas where smell-causing residue accumulates and survives normal washing cycles completely untouched.
Why Smells Persist After Cleaning: The Real Reasons
1. The Heating Element Was Never Cleaned
This is the most common missed area — and the most impactful one. Most people clean the basket and drawer but never touch the heating element above the basket. Grease and food particles that reach the heating element bake onto it with every cook, carbonizing into a persistent, pungent residue that survives basket washing completely. Every time the unit heats up, this carbonized residue releases odor directly into the cooking air — regardless of how clean the basket is.
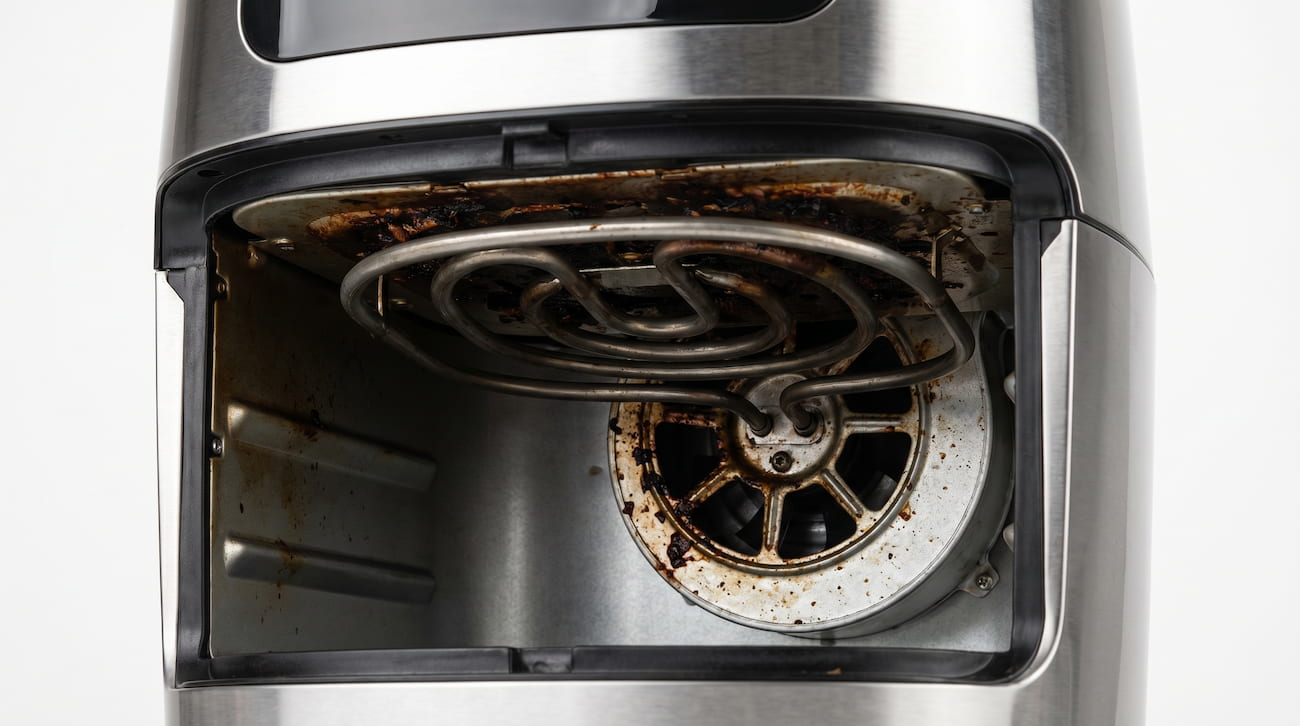
Grease on the heating element survives basket cleaning entirely — it’s the most common source of persistent smell after washing.
2. Interior Walls and Chamber Were Skipped
The interior cooking chamber — the walls surrounding the basket — accumulates grease splatter with every fatty cook. Most cleaning routines focus entirely on the removable basket and drawer, leaving the chamber walls untouched. Grease on the interior walls heats with every cook cycle and produces odor that the clean basket alone can’t eliminate.
3. The Drawer Gap and Seams Trap Residue
The gap between the basket and the drawer, the seam where the drawer slides into the unit, and any recessed areas around the basket handle all trap food particles and grease that standard washing doesn’t reach. These residue pockets are shielded from water flow during washing and require deliberate attention with a small brush to clean properly.
4. Residue Wasn’t Fully Removed — Just Redistributed
Washing with dish soap and a sponge sometimes spreads grease residue rather than removing it — particularly when the basket hasn’t been soaked first. A thin film of redistributed grease on basket surfaces smells less obvious when cold but produces significant odor when heated. Soaking before scrubbing is the step that prevents redistribution rather than removal.
5. The Unit Wasn’t Dried Completely
Moisture left inside the unit after cleaning doesn’t just create mold risk over time — it also combines with remaining grease residue to create a compound that smells more strongly during the next heat cycle than dry residue alone. Thorough drying — towel dry plus 30+ minutes of air drying — is part of effective cleaning, not an optional follow-up step.
6. The Smell Is From Coating Degradation — Not Residue
This is the cause that cleaning cannot fix. A chemical or plastic smell that persists after thorough cleaning of every surface — including the heating element and interior walls — is coming from the basket coating itself rather than from food residue. Degraded nonstick coatings off-gas during every heat cycle regardless of cleanliness. If you’ve cleaned every surface thoroughly and the smell remains, inspect the basket coating carefully for scratches, discoloration, or any of the signs of a degrading coating.
Where Smell-Causing Residue Hides
| Location | Cleaned in Standard Wash? | How to Clean |
|---|---|---|
| Basket surface | Yes — if soaked first | Soak 10 min, soft sponge |
| Drawer bottom | Usually yes | Soak and scrub |
| Heating element | Never — requires separate step | Soft brush + damp cloth, unit flipped |
| Interior chamber walls | Rarely | Damp microfiber cloth wipe |
| Basket/drawer gap seam | No | Small soft brush or toothbrush |
| Basket handle recess | Rarely | Toothbrush with soapy water |
The Complete Smell-Eliminating Clean
Step 1 — Soak Everything Removable First
Fill the sink with hot water and a few drops of dish soap. Submerge the basket and drawer completely and soak for 15–20 minutes before any scrubbing. This loosens baked-on grease that scrubbing alone won’t shift.
Step 2 — Clean the Heating Element
Unplug and cool the unit completely. Flip upside down. Use a dry soft-bristle brush to dislodge dry debris from the element, then follow with a barely damp microfiber cloth. Never spray liquid near the element. Allow 30+ minutes to dry before use.
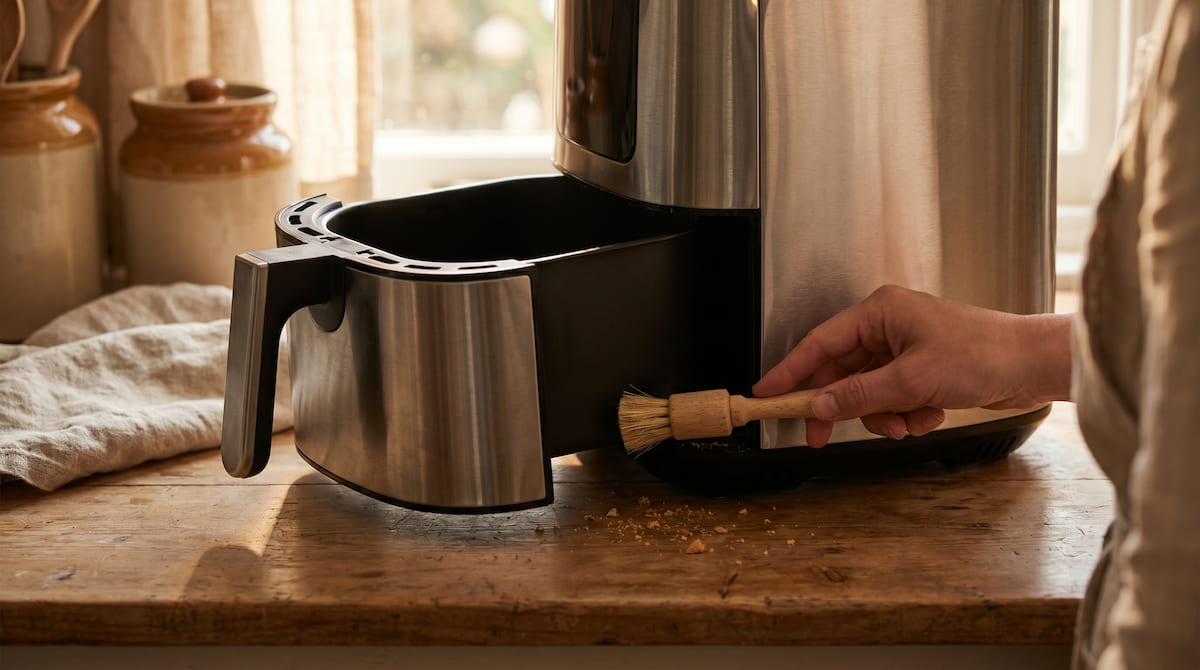
A soft brush reaching into the gaps and seams that standard washing misses is the key step most cleaning routines skip entirely.
Step 3 — Wipe the Interior Chamber Walls
With the unit unplugged and cool, wipe all interior wall surfaces with a damp microfiber cloth. For stubborn grease spots, apply a small amount of baking soda paste, let sit 5 minutes, then wipe clean.
Step 4 — Address All Gap Areas
Use a soft toothbrush or small detail brush to clean the seam between basket and drawer, around the basket handle, and any recessed areas that standard washing water doesn’t reach. These small areas hold disproportionate amounts of smell-causing residue.
Step 5 — Run an Empty Deodorizing Cycle
After full cleaning and complete drying, run the empty air fryer at 350°F for 5 minutes with half a lemon placed inside the basket. The heat activates the lemon’s citric acid, which neutralizes residual grease odors that survived the physical cleaning process.
When Cleaning Won’t Fix the Smell
If you’ve completed every step above — including the heating element and interior walls — and the smell persists through the next cook cycle, the coating is the source. A chemical or plastic smell from a thoroughly cleaned unit is coming from coating degradation, not residue. At that point, cleaning more thoroughly isn’t the answer — replacement is.
For the full guide on what persistent chemical smells from air fryers actually indicate: Why Does My Air Fryer Smell Like Burning Plastic After Months of Use?
And for the complete deep cleaning process that addresses all fixable smell causes in one session: How to Deep Clean an Air Fryer Safely (Without Toxic Chemicals)
Bottom Line
An air fryer that smells after cleaning is almost always missing one or more of four key areas: the heating element, the interior chamber walls, the gap seams around the basket and drawer, or a thorough soak before scrubbing. Addressing all four in one complete clean eliminates the vast majority of persistent post-wash smells. The one exception — a chemical or plastic smell that survives thorough cleaning of every surface — is a coating degradation signal that no amount of cleaning will resolve. Clean first, clean everything, and if the smell persists after a complete clean, look at the coating condition rather than the cleaning technique.