Disclosure: This post contains affiliate links. If you purchase through them, I earn a small commission at no extra cost to you. I only recommend products I personally trust for my family.
How to clean air fryer heating element is one of those tasks most people skip — until the smoke starts and the food tastes off. I’m Wook, a bus driver and dad who cooks for my family almost every night. After noticing a burnt smell coming from our air fryer, I flipped it over and found a layer of baked-on grease on the heating coil that I’d completely ignored for months.
Here’s what I learned: cleaning the heating element the wrong way can damage it permanently. This guide walks you through the safe, non-toxic method that actually works.
Why the Heating Element Gets Dirty
Every time you cook fatty foods — bacon, chicken thighs, sausage — grease and food particles rise with the hot air and deposit onto the heating coil above. Over time this builds up, burns during cooking, and releases smoke and odors directly into your food.
According to the FDA, keeping cooking surfaces clean is one of the most important steps in reducing unwanted contaminants in home-cooked food — and that includes the parts of your appliance you can’t see easily.
How to Clean Air Fryer Heating Element: What You’ll Need
- Soft-bristle brush (toothbrush works perfectly)
- Baking soda
- Damp microfiber cloth
- Dry cloth for final wipe
- Small bowl of warm water
Never spray water, vinegar, or any liquid directly onto the heating element. Never use metal tools or abrasive scrubbers. These will damage the coil and create a safety hazard.
How to Clean Air Fryer Heating Element: Step-by-Step
Step 1 — Unplug and Cool Completely
This is non-negotiable. Unplug your air fryer and wait at least 45 minutes. The heating element retains heat longer than the basket and can cause burns if handled too soon.
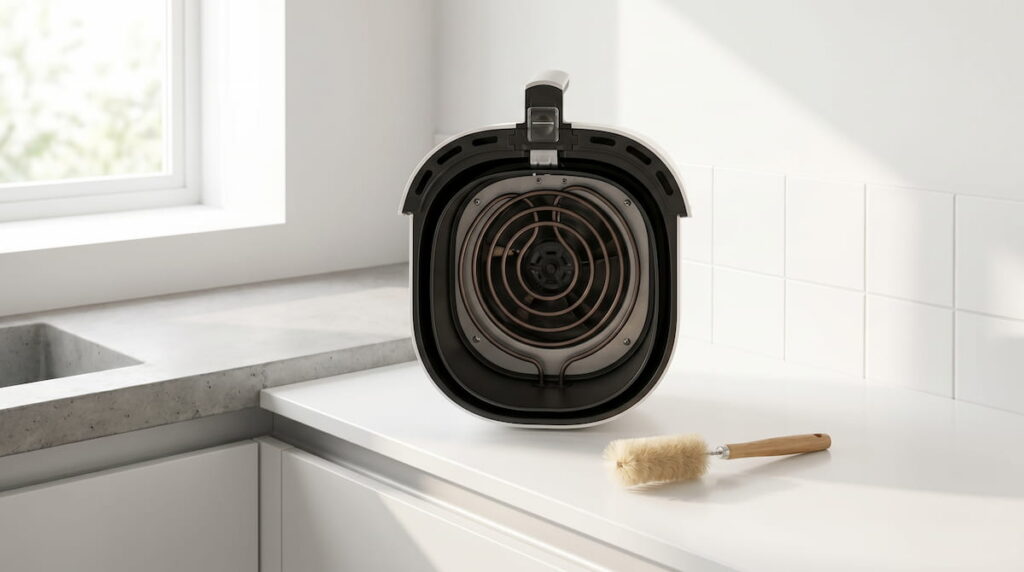
Step 2 — Flip the Unit Upside Down
Place the air fryer upside down on a clean towel on your counter. This gives you direct access to the heating coil and makes it easier to work without straining.
Step 3 — Dry Brush First
Use a dry soft-bristle brush to loosen any dry crumbs or debris from the coil. Brush gently in short strokes — you’re not scrubbing, just dislodging loose particles. Let them fall onto the towel below.
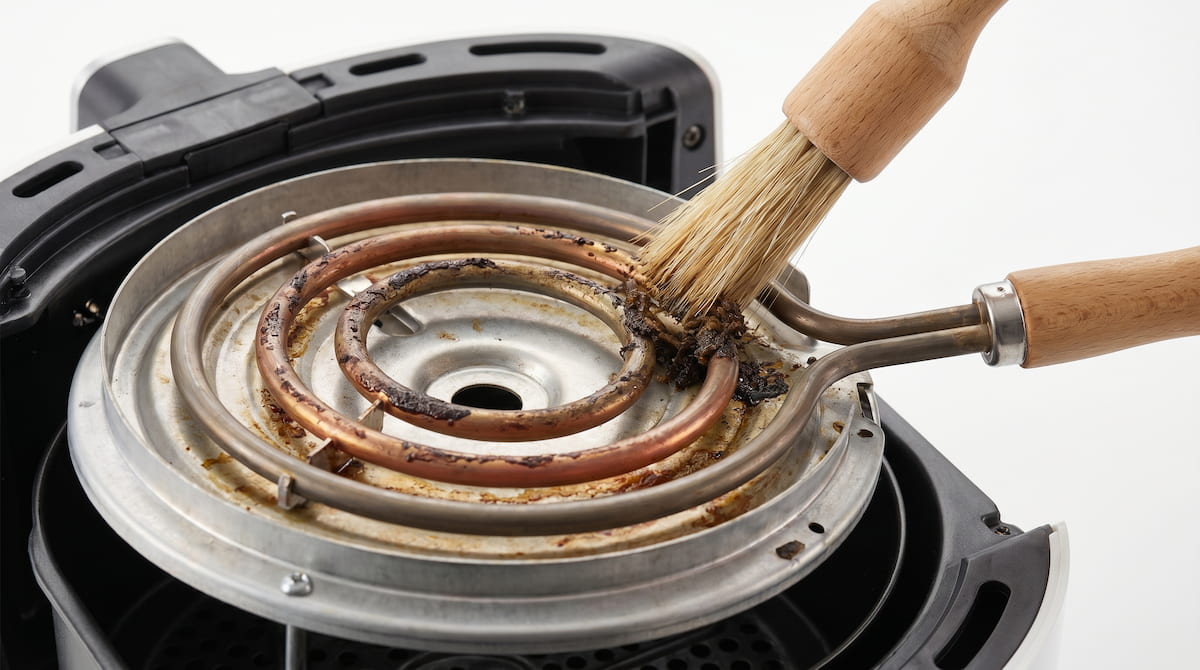
A soft-bristle brush is the safest tool for removing grease from an air fryer heating element.
Step 4 — Apply Baking Soda Paste to Stubborn Grease
Mix 1 tablespoon of baking soda with just enough water to form a thick paste. Apply a small amount directly to greasy spots on the coil using the brush. Let it sit for 5 minutes to break down the grease.
Step 5 — Wipe With a Damp Cloth
Use a barely damp microfiber cloth to wipe away the baking soda paste and loosened grease. Wring the cloth out well — it should be damp, not wet. Never let water drip into the electrical components around the coil.
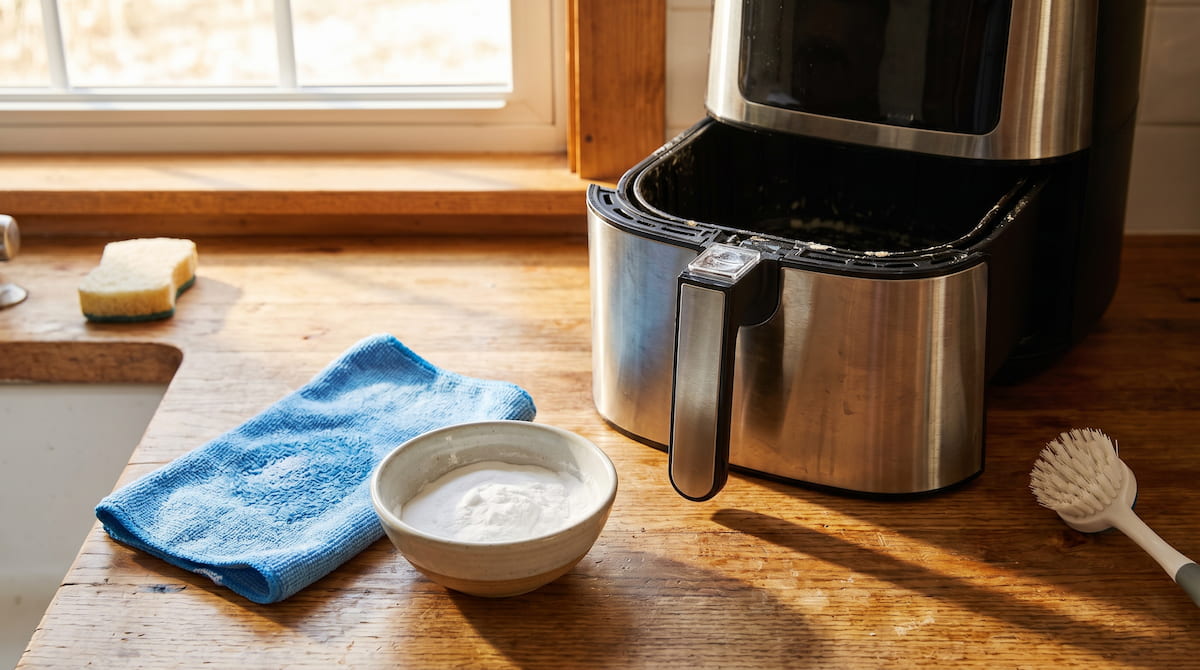
Baking soda paste safely breaks down baked-on grease without harsh chemicals.
Step 6 — Dry Completely Before Use
Wipe the entire area with a dry cloth and let the unit air dry for at least 30 minutes before flipping it back over and plugging it in. Moisture near the heating element is a safety risk.
How Often Should You Clean the Heating Element?
| Cooking Type | Cleaning Frequency |
|---|---|
| Fatty foods daily (bacon, chicken) | Every 2 weeks |
| Mixed cooking 3–4x per week | Once a month |
| Vegetables and lean proteins | Every 6–8 weeks |
| Occasional use | Every 3 months |
Signs Your Heating Element Needs Cleaning Now
- Smoke during cooking — even when the basket is clean
- Burning smell — distinct from food smells
- Food taking longer to cook — grease buildup insulates the element and reduces efficiency
- Visible dark residue on the coil when you look inside
The Basket Matters Too
A clean heating element works best when paired with a basket that doesn’t add its own chemical concerns. If your basket coating is scratched or peeling, it’s time to look at a safer option.
Our family uses the Ninja AF150AMZ with its ceramic basket — no PFAS concerns, and it’s much easier to keep clean. See my full review: Ninja Air Fryer Ceramic Basket: Is It Actually PFAS-Free?
If you’re shopping for a safer air fryer overall, start here: PFAS-Free Air Fryer Guide
Bottom Line
Cleaning your air fryer heating element takes less than 20 minutes and makes a real difference in food taste, safety, and appliance lifespan. A soft brush, baking soda paste, and a barely damp cloth are all you need. The key is keeping moisture away from the electrical components and letting everything dry completely before the next use.
Make it part of your monthly routine and your air fryer will perform better and last longer.
Affiliate Disclosure: As an Amazon Associate, I earn from qualifying purchases. This helps keep the site running — thank you for your support.